
Total Time: Less than 2 hours (including prep and clean up)
Total Spent: $30 approx.
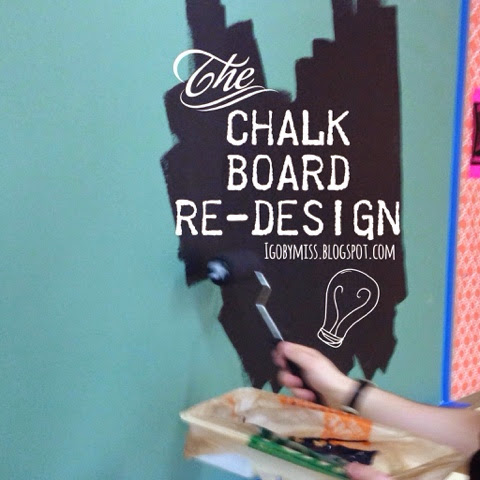
I hate chalk! I won't touch it. I didn't even have chalk out on my chalk ledge this year. I used my chalk board as a magnet board and just hung visuals from it. But I have been seeing ultra trendy chalkboard designs that I think would be a great visual aid to incorporate into the classroom. I also learned about chalk markers which throws the whole idea of having to touch chalk out the window. Win-Win. Except - my boards are green and chalk markers aren't going to look as nice on top of green. White won't even pop that much because the contrast won't be as strong as if it were black. So I resolved to spend the money and re-design my chalk boards from blah green to pure black. Cute Boards and No chalk residue on my fingers. Check out my inspiration photos from my Pinterest account (Follow my Chalkboard Board):

Instead of baby updates, I will have things such as upcoming due dates & advertisements for books of the month on my chalkboard.


HERE'S WHAT YOU'LL NEED:
Chalkboard Paint
$10 Home Depot
(Ask them to shake it for you with the paint machine. Lol I Just envisioned the paint department worker dancing with the paint machine. Oh vague pronoun... Seriously though, the paint department associate told me that sometimes the paint in boxes sit a while and aren't the right consistency without it being shaken before using.)

Blue Painter's Tape
$6

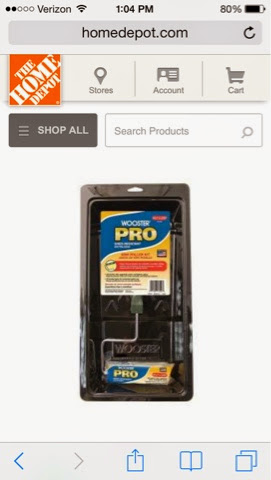
Mini Rolling Kit
$7
(My kit came with a roller, pan, and a small brush. I also bought a bigger briush too, but ended up not really needing it to get the project done. A roller and a small brush for the corners are good tools for this project.)

(Save your Home Depot bag to line the tray for easy clean up! I did this, as shown in the pics above of my brother painting the board. Idea from Pinterest.)

Before you get started with your project, get permission from your administrator and possibly from your Head of Maintenance. Because these two people at my school had confidence in my project, I wanted to make sure I did exactly as I said and to not make excess mess for anyone.
Remember to have a drop cloth to protect the floor (Shower Curtains from the Dollar Store can work or do as I did, and just use big sheets of post it papers - not because I wanted to be wasteful, but because I forgot to stop at the Dollar Store before hand.) I also placed a protective layer on my smart board just in case of any paint splatter. Also notice that I already taped off the board and smart board to make sure I only got paint where I wanted it. My brother helped me with this project. We love DIY.
We painted mostly in one direction - vertically. And we used the small brush to get in the corners. We also debated on how to approach the little green space beneath the SMART Board on both sides. I was able to sneak in there with the small brush without getting paint on the SMART board. Now my board is updated and cohesive!

This pic is the brightest pic my phone took of the whole room even though the blue tape is still up, and my brother is fixing something.
IMPORTANT: Peel the blue tape before the paint dries or else the paint will peel with the tape!!

Voila! A job well done! Now my bulletin boards really pop and now I can get started with chalkboard designs that will pop as well!
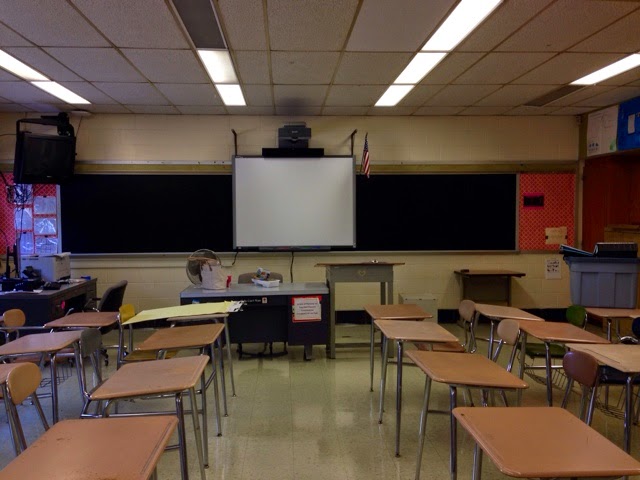
Next up, a desk skirt and paint for the bulletin board strip above the chalkboard and on one of my walls. The bulletin board is currently a yellowy-green-brown shade. Ilk.


